
In this tutorial you will learn how to apply materials to your model.
- Open Model Lab and import the Fika chair (basic).cmsym model.
- Expand the Material dropdown menu. and click on the Material Explorer button.

- Click on any material you would like to apply in the Material Explorer, then move the cursor to the Model Lab window and click the node you want to apply the material to.
- While you're about to apply a material, you should see a list of the nodes to the left.
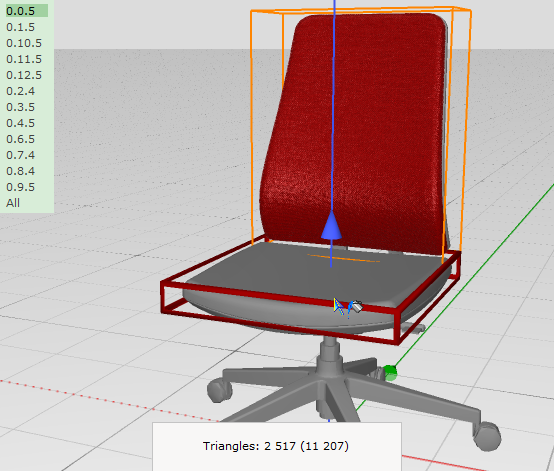
You can scan through this list changing the target for the material you are to apply by using the Tab key on your keyboard. Use Shift + Tab to move in the opposite direction.
When you have found the node you would like to change, just click the left-mouse button or press Enter on your keyboard.
Creating/Editing Materials
You can create your own materials in Material Lab.
- Start off with an existing material and edit it by double left clicking a material in the Material Explorer to open it in the Model Lab.
Then just click New in the Material Lab and start editing.
Notice the Change selected instantly in the top left Material Lab toolbar.
When checked, it will automatically update the last known material target when a material is being edited. - Once you are happy with the material you can save it by dragging and dropping it into the Material Explorer. Exactly how you can edit materials in Material Lab is beyond the scope of this tutorial, but you can find more about it in this article.
- That’s it! Now you should know:
- How to apply materials to your model.
Comments
2 comments
How can I lock UV coordinates on an object so a seamless texture repeats instead of stretches when an object is scaled?
You can do so by clicking on the Scale from size button under Advanced UV Control after the scaling is set.
Please sign in to leave a comment.