
Purpose
This tool has been developed for testing printouts (PDF files) between different versions of CET. All elements that can be included in a print-out can be tested with this tool eg. bill of material, 2D floor plan, 3D perspective, paper view.
Test on Multiple Drawings
The PDF Diff Test allow for multiple drawings to be tested by using the same Print Report Settings. In order to start the comparison test, references need to be created in the previous version.
Creating References
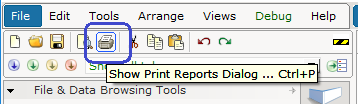
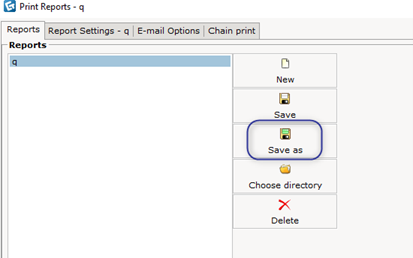
- Create a Print Reports Settings (.rep) from the Print Reports dialog. You may specify the document contents the print report should have, for example bill of material, floor plan (2D), perspective (3D), paper views and/or other customer specific printable elements.
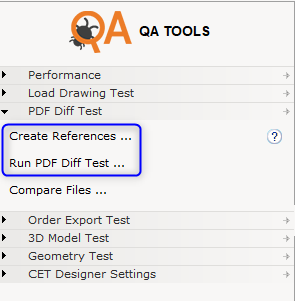
- Click on 'Create References' and select the folder with the drawings and Print Report Settings.

- The PDF Diff Test, Create References dialog will open and it will automatically try to detect the required files from the selected location in Step 2.
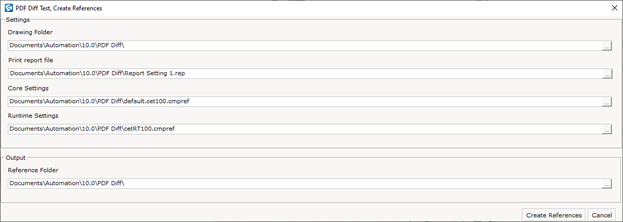
- Print report file - This is the Print Reports Settings (.rep) created from Step 1
- Core Settings - Contains for instance the setting for distance unit in the Control Panel that is to be used
- Runtime Settings - Contains for instance the setting for language in the Control Panel that is to be used
You may use the 'Save Core Settings' and 'Save Runtime Settings' button to store the files in the drawing location.

- Reference directory - The save location of the created PDF references for the selected drawings
Click on ‘Create References’ at the bottom right of the dialog to start creating the PDF references.
- The drawings will get loaded automatically into CET and a progress bar will appear at the bottom of the drawing view.

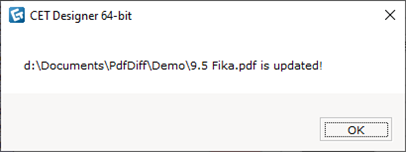
A message dialog will then appear to indicate that the references has been created successfully.
 The PDF references will have the same name as the drawing file.
If you decide to edit or add more drawings to the file location and create the references again, the tool will first check if a reference file of the similar name already exist in the Reference Directory. If a reference file already exist in the directory, a warning message on overwriting the existing files will appear.
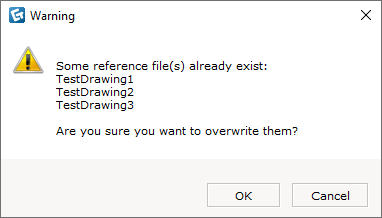
- OK – New reference files will be created for ALL drawings
- Cancel – The operation is aborted, and no reference is created
This check is to prevent old reference files from being overwritten by mistake.
Batch Testing
- Click on 'Run PDF Diff Test' in the same or a newer version of CET.
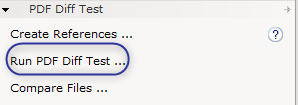
- Choose the folder that contain the drawings and the reference files.
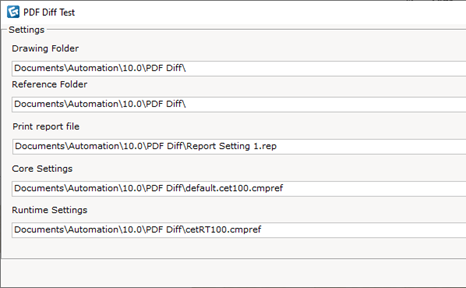
The PDF Diff Test dialog will open and it will automatically try to detect the required files.
If the Core and Runtime settings files are in the same file location, all directories will be automatically filled when the dialog is opened. Else you may browse from the dialog to select those preference files that were used when the references were created.
 If the Runtime and Core settings are not specified, the test will run using the current CET’s
 - Click on “Run Test” to navigate to the following dialog.

- In the PDF Diff Test dialog, the names of the drawings in the selected folder will be listed out which includes the name of each page in the PDF. The pages are numbered from 0000 and next to the number is a text referring to the type of document. In this example paper views, floor plan and perspective.
If a paper view name in the drawing has been changed by the user in Paper Manager, the name of the paper will be displayed in the dialog next to the page number.
You can then choose to run the comparison test using 2 options.
- Run a specific drawing and all its pages by clicking the
 button.
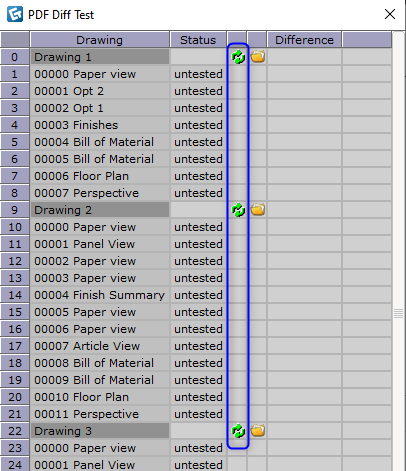
- Run all drawings by clicking the ‘Run all tests’ button at the bottom of the dialog.

For each test that is run, the dialog will change the status from ‘untested’ to ‘running’ and finish with either ‘ok’ or ‘failed’.
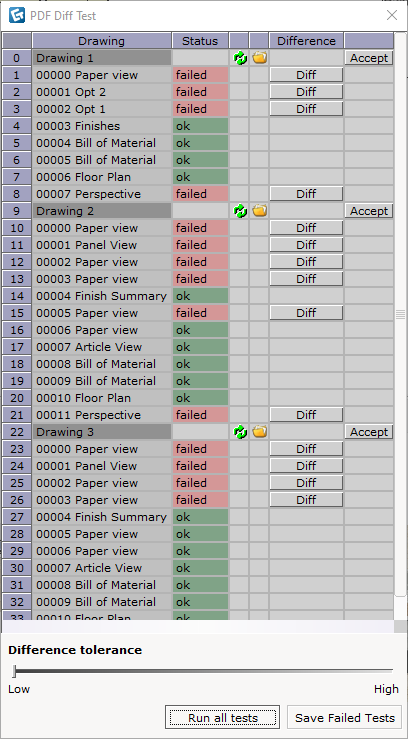
- ok - No differences has been found between the reference and the current printout
- failed - One or more differences has been detected between the reference and the current printout. A 'Diff' button is shown next to the failing page and a 'Accept' button is shown on the same row as the failing drawing
 .
.
It is possible to change the sensitivity of the comparison test by moving the slider from Low to High. The lower the 'Difference tolerance', the more likely that tiny differences will cause the tool to mark that reference as a fail. Once the 'Difference tolerance' has been adjusted, you can then choose to rerun a particular drawing or all test without having to close the dialog - Run a specific drawing and all its pages by clicking the
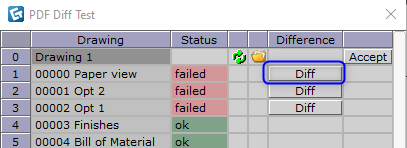
- You can then verify the differences between the reference and the current PDF by clicking on the 'Diff' button.
This will open another dialog which will display the reference page on the left and the newly generated page on the right. From the dialog, there are several features that you may use to help you in verifying the differences between the Reference and Test images.
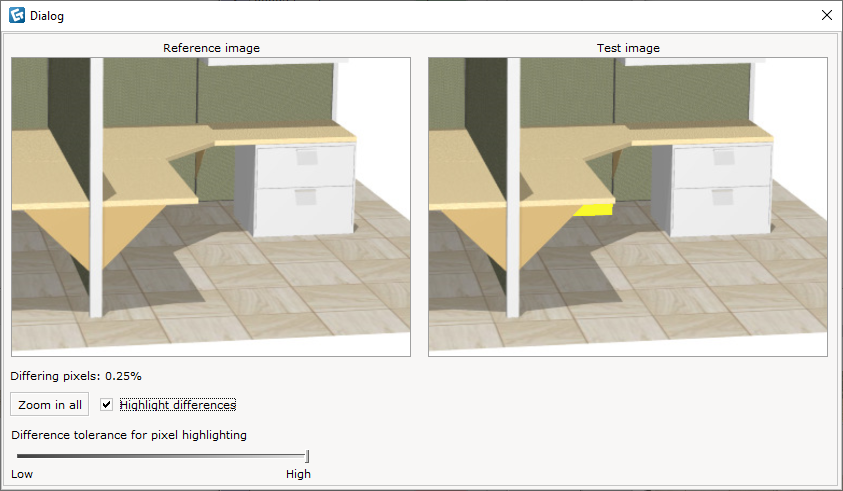
- Reference and Test image - Zooming in on one image will automatically zoom in on the other
- Differing pixels - Displays the percentage difference in pixels between the reference and test image
- Zoom in all - Zooms out both the reference and test image so that the full page is shown
- Highlight differences - Highlights the parts in the test image that is different in comparison to the reference image
- Difference tolerance for pixel highlighting - The sensitivity of the tool when comparing between the reference and test image. The lower the tolerance, the more likely that tiny differences will cause the tool to highlight the part as a fail
You may also load the drawing and investigate the differences by clicking on the
 button.
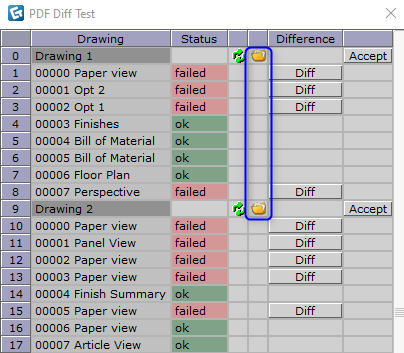
In cases where the differences found are intended (eg a spelling mistake has been corrected, a text has been changed, a 2D has changed shape or color, a 3D model has been improved) you may want to update the references to avoid future false failures. This can be done by clicking the ‘Accept’ button in the drawing's header row in the dialog.
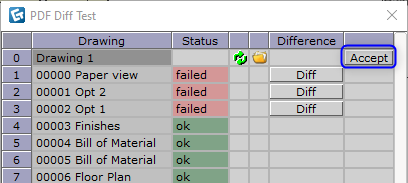
This will replace the drawing's reference with the current PDF created by the PDF Diff Test tool.
The selected drawing's Status will also return to 'untested' where you may choose to rerun the test based on the new reference using the
 button.
 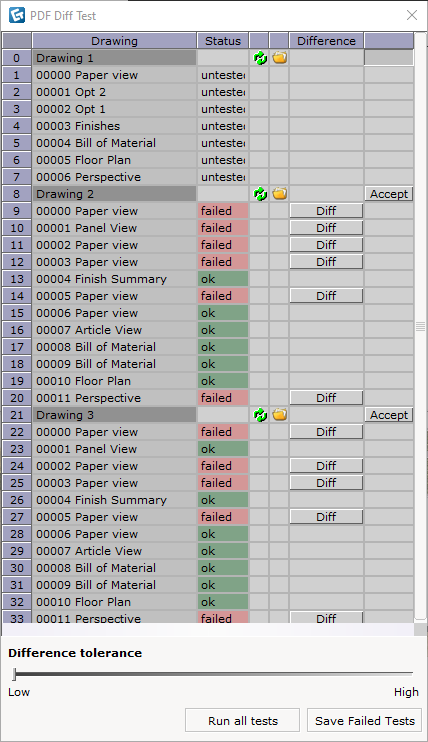 In cases where the newly created PDF has a different number of pages in comparison to the reference PDF, the tool will immediately mark the test as a fail and mark it as 'Different number of pages'
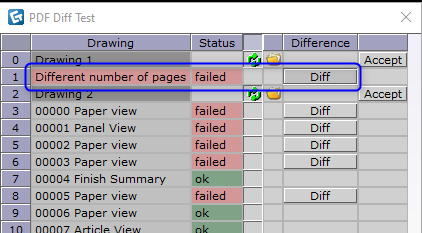
You can then click on the 'Diff' button to determine which page is missing.

- When a difference has been found which is caused by an error (not an intentional change) you may want to file an error report to your development team. You may get the necessary files by clicking the 'Save Failed Tests' button at the bottom of the dialog.

A 'Browse for Folder' dialog will appear for you to specify the save location of the necessary files.
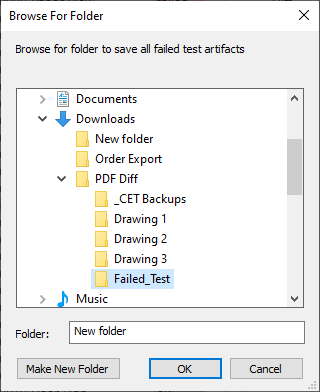
The files needed to reproduce the differences will then be stored in the specified location.
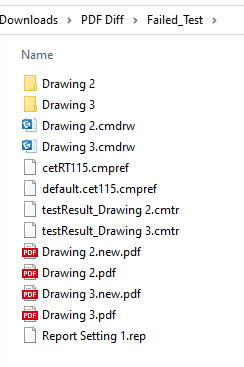
This includes the Print Report settings, Core Settings, Runtime Settings, drawing file, PDFs and the images. The PDFs and images created during the test will have an additional suffix '.new' before the '.pdf' and '.png' format.
General Notes
- Use the same currency and headings (for Bill of material if such pages are included in the print report) when running the test as when the reference PDF files were created.
- If the reference PDF file is missing for a drawing, that drawing will not be included in the test. So, a simple way to exclude a drawing from being part of the test is to temporary move or rename its reference PDF file.
- In case you want to move or rename any PDF file used in the test, you need to first close CET, because CET is locking those files when setting up the PDF diff tests. If CET is started via Emacs in develop mode, you need to press Ctrl-alt-e in Emacs to close the process.
- When running the PDF diff test on one computer, but having created the PDF references on another computer, it may be important to use the same printer in the printer settings. Even more so, if those computers are not in the same office or even country – they might not have access to the same physical printer. If the computer (when running the PDF diff test) cannot find the printer set in the print report, CET will use some default values – this may not match the printer intended and cause differences in the test. The printable area on the paper can differ between printers, resulting in slightly different printouts which the PDF diff test may catch. For instance, page breaks in bill of material / article view can differ depending on the printer. If the PDF diff test shows such a difference, you now know where to look for the cause of it.
You can set printer for paper views by:
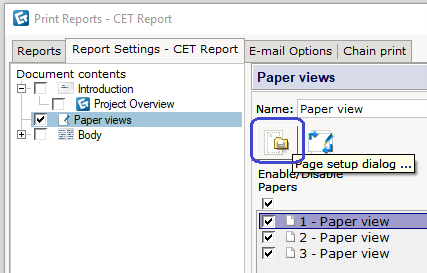

To avoid printer caused differences we recommend using one of the default printers that Windows provides, since they are available on all (Windows) computers:
- Microsoft XPS Document Writer
- Microsoft Print to PDF
Tips for Testing
- 2D pages of a printout (floor plan or 2D view in a paper view) - Can be use to test different view modes – test that the correct graphs and texts are visible/hidden.
- 3D (perspective or 3D view in a paper view) - Can be use to test different view modes – test that the correct 3D is visible/hidden.
- To detect random errors, run the PDF diff test several times on the same version. Meaning start from the beginning from ‘Run PDF diff test’ and not just click on the ‘Run all tests’ button again (that does not create new test PDFs, it only compares the two PDFs).
File & Folder Organization
It is advisable to keep all files used by the PDF Diff test in the same folder. This is so that the tool is able to automatically detect all files needed to be used to run the test without having to manually search for each required file.
- Drawings
- Reference files
- Print report settings
- Core and runtime settings files
Comments
0 comments
Please sign in to leave a comment.