
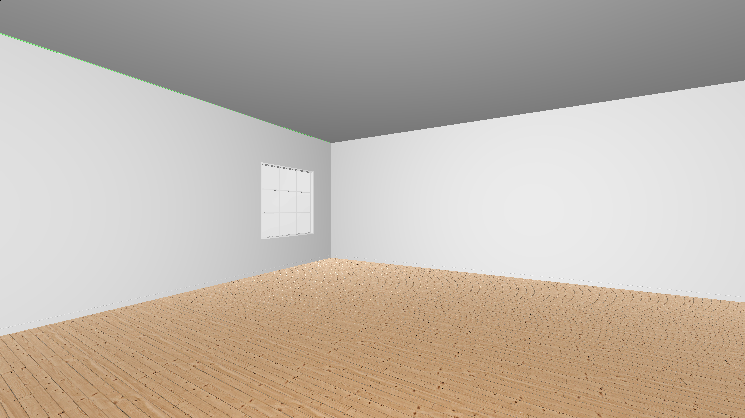
Now that we have a closed room, the next best basic skill to master is setting up the camera to improve the framing of our rendering.
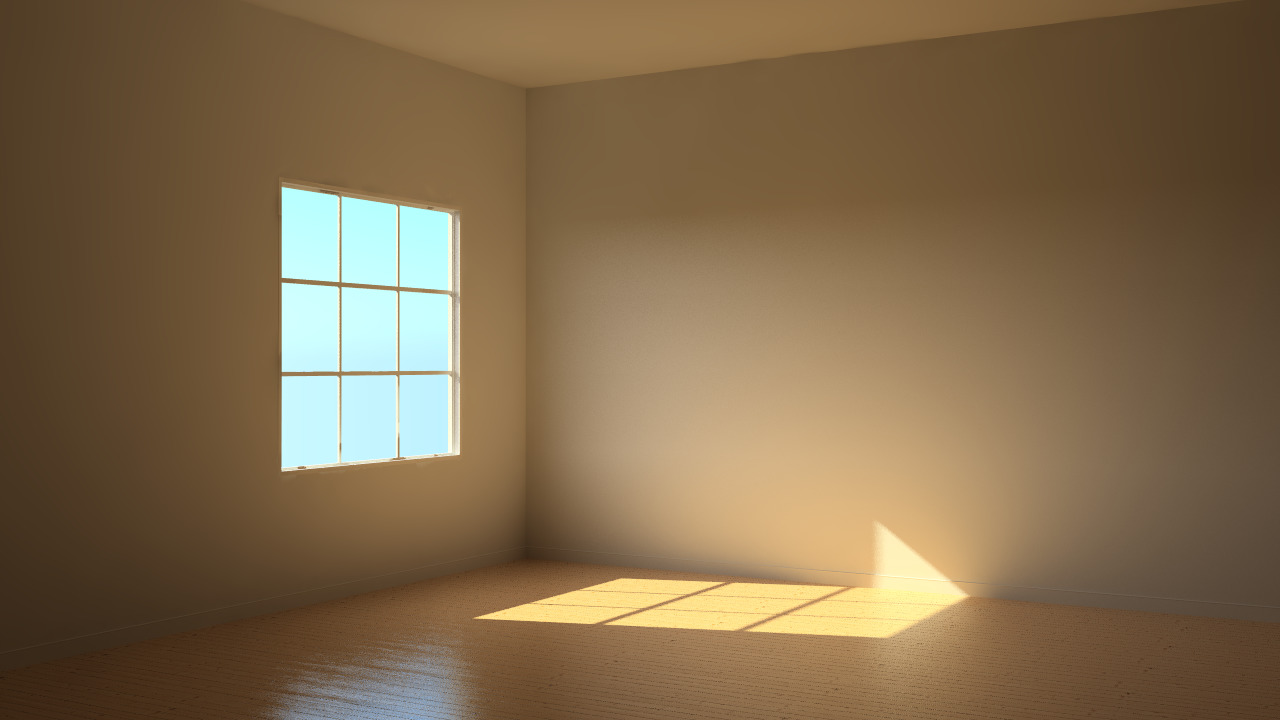
If we want to see more of the room while having the camera in the same position we can change the perspective of the camera.
 |
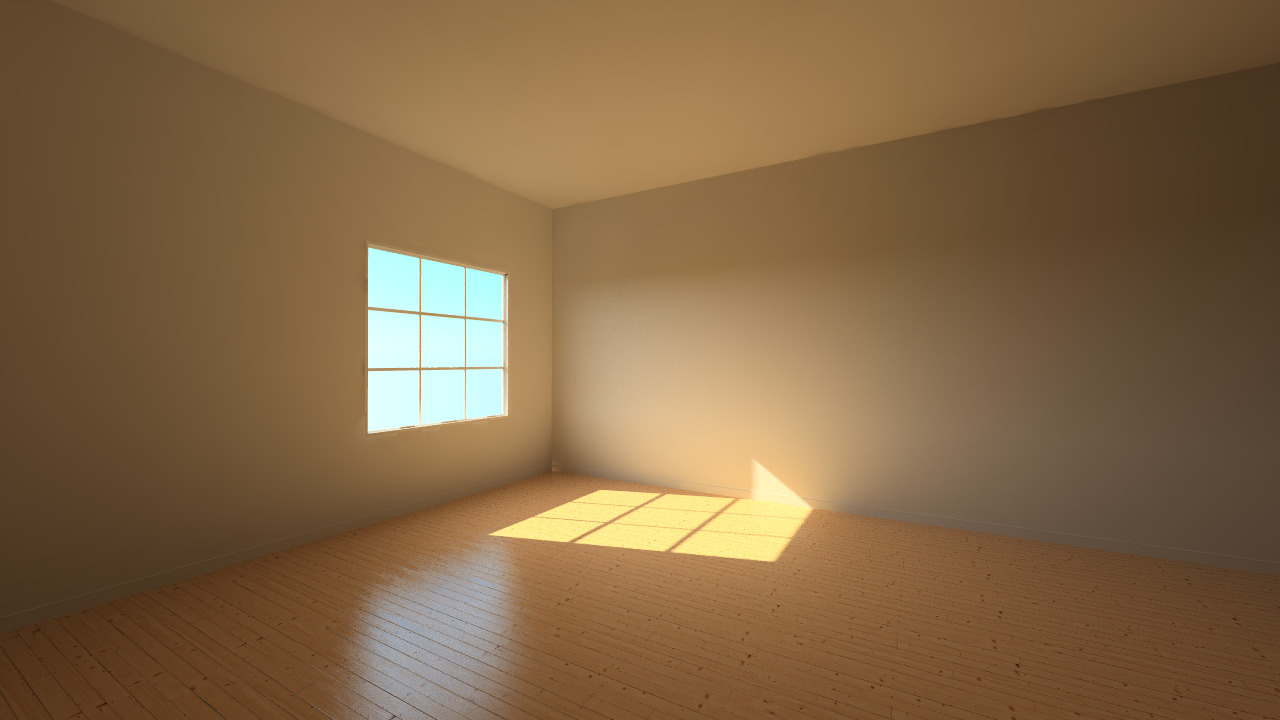 |
| Normal Perspective | Wide Perspective |
Adjusting Perspective
- To capture the most of the room, it makes sense to place the camera at the very edge of the room.
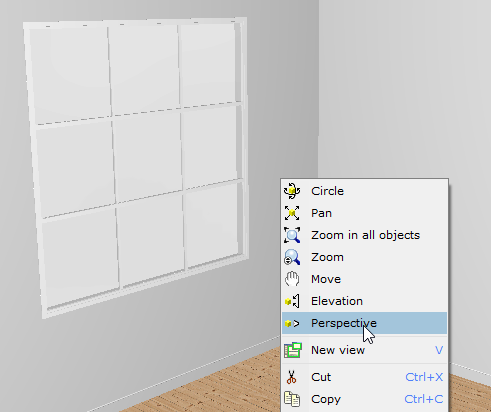
- Right-click on the view, and select Perspective:
- You can now adjust the perspective to be narrow or wider by holding Left-click and moving the mouse forward or backwards:
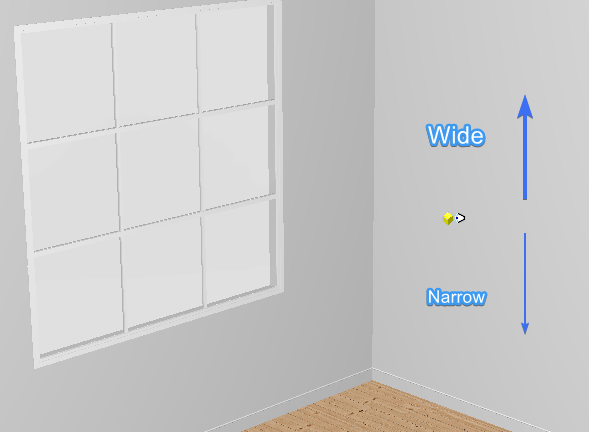
Since we want our perspective wider, we'll move the mouse backwards. - We now have something like this:
Setting Image Resolution
Under every option in Photograph Setup, you can see a Resolution dropdown menu:
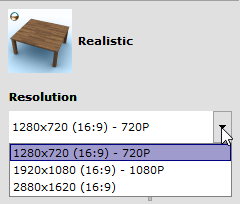
These three options here dictates how details the resulting render will be. Higher numbers results in more detailed render.
While experimenting with different setup it is generally a good idea to render with lower resolution to speed up the iteration time. Or you could use Previews:
Setting Preview Resolution
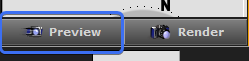
Was rendering for a preview taking too long? We can make use the Preview button to render in a lower resolution, which will take a shorter time.
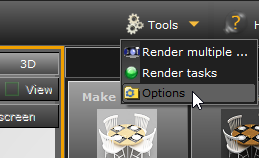
We can set the preview to a lower resolution from Options:
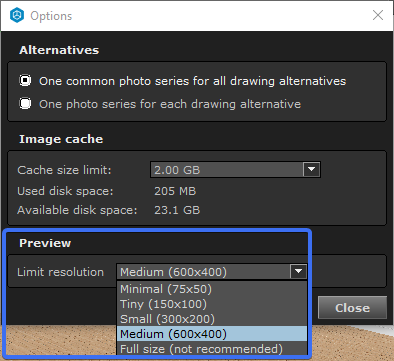
Now you can preview the render faster using the Preview button.
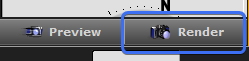
If your preview is satisfactory, we can now render an a higher resolution by clicking Render.
| ◄ Previous Tutorial | Next Tutorial ► |
Comments
0 comments
Please sign in to leave a comment.