
As with every professional skill we learn, it's all about first mastering the basics.
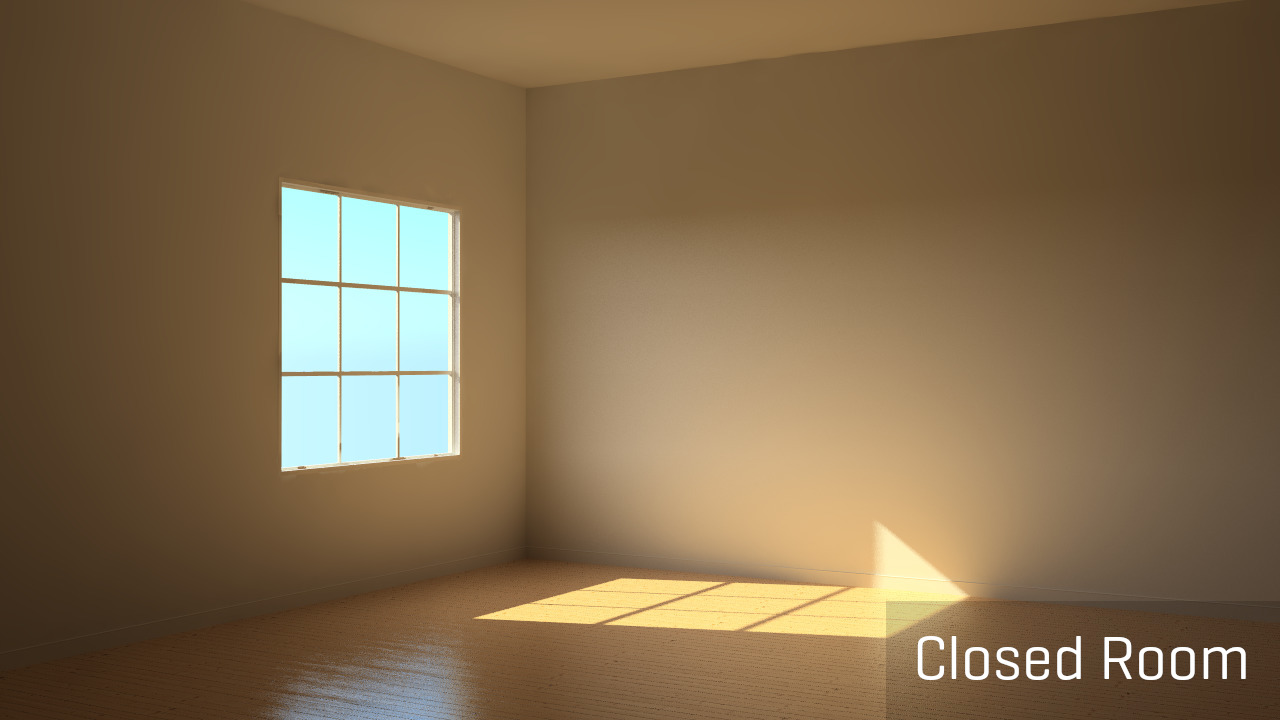
In this article, we're going to understand the basics of creating an environment suitable to control lighting, a closed room.
Light that enters an open room will leak out resulting in less accurate lighting and potentially a more noisy/grainy looking image.
A closed room however, ensures that the light that comes it from outside can scatter around the room properly.

You can hold and drag the blue circle in the image to slide between images.
By the end of this article, you'll have a simple closed room as the foundation we'll use throughout the tutorial.
You can try removing the ceiling at the end of the whole tutorial to find out how fundamental it is to have a closed room!
Creating a simple Closed Room
You can follow these steps to create a simple closed room hands-on, or you could just download the resulting drawing at the top of this article.
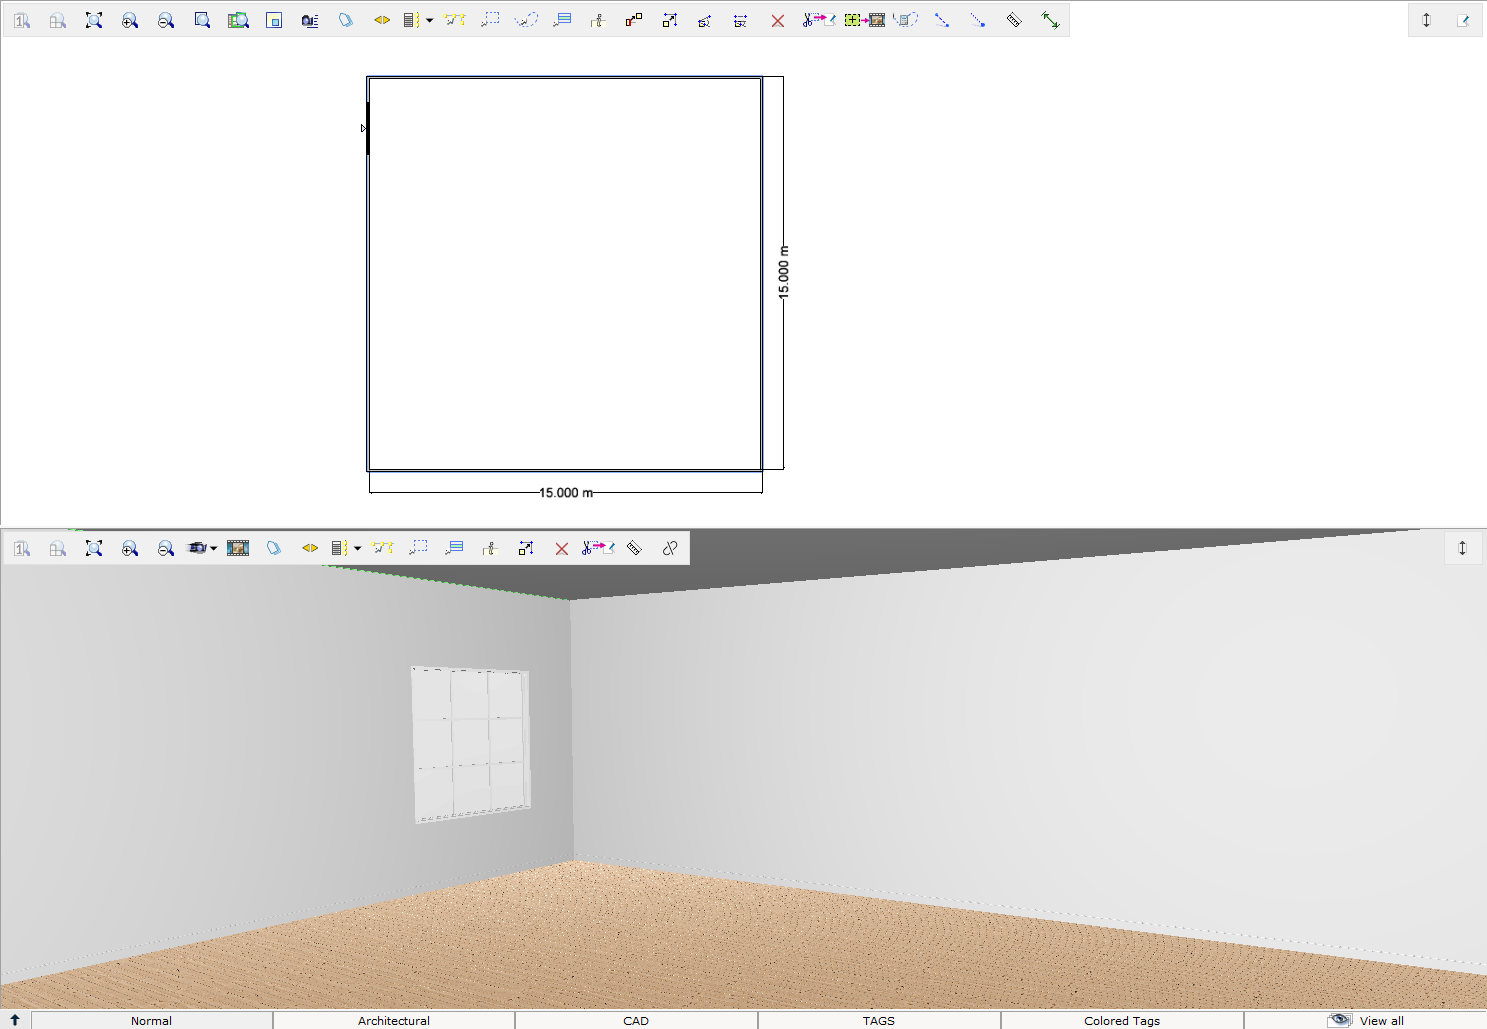
- Create four walls.
- The four walls are all 15m long, creating a square room.
- A bit more ceiling height generally looks good. In this scenario we use 4m ceiling height.
- Do not forget to check the “Wall base trim” in the quick properties. Details matter!
- Create a ceiling covering the walls.
- Set the height to 4m.
- Check the solid flag in the quick properties. Otherwise, light will go through it during rendering.
- Make sure there are no cracks where the ceiling meets the walls. No unwanted light should not leak in.
- Add a 2x2m window on the.
- Double click the window to add some extra bars. Again, details matter!
- Double click the window to add some extra bars. Again, details matter!
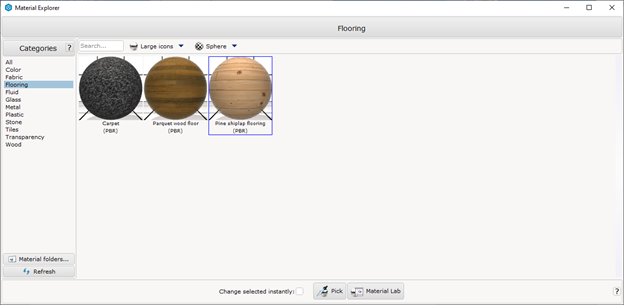
- Add a nice floor material, like the “Pine shiplap flooring”:
- The foundation of the scene is now done and should look something like this:
| Next Tutorial ► |
Comments
0 comments
Please sign in to leave a comment.