
Another way to add light to the scene is by using one of the built-in background images. This is an easy way to create a certain mood to your rendering. There is a variety of built-in background images to handle different type of scenarios, including indoor, sunset, sunrise, winter etc.
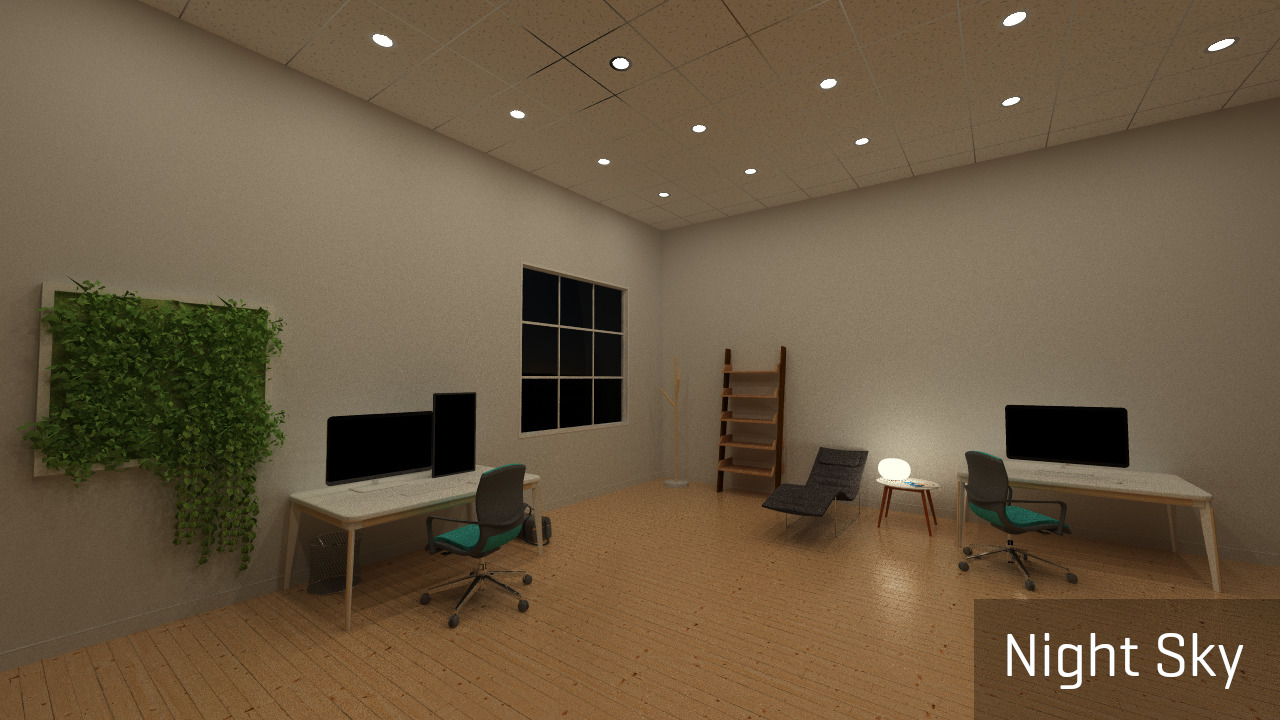
In this tutorial we will look into using a night-time background and below you can compare what the image would look like during day vs night:

Using Built-in Backgrounds
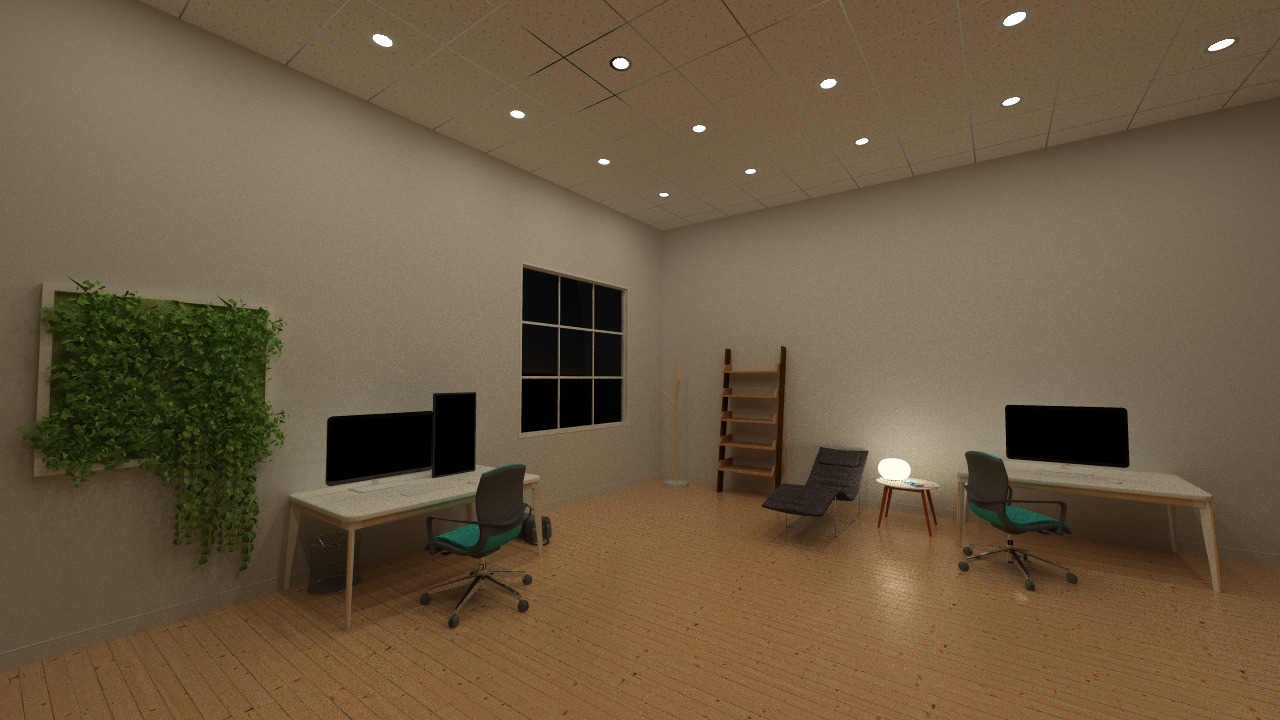
You can find the resulting drawing of these steps above this article.
- Under the Realistic section of Photograph setup, click the background image and select kloppenheim_4k. Render the scene again.
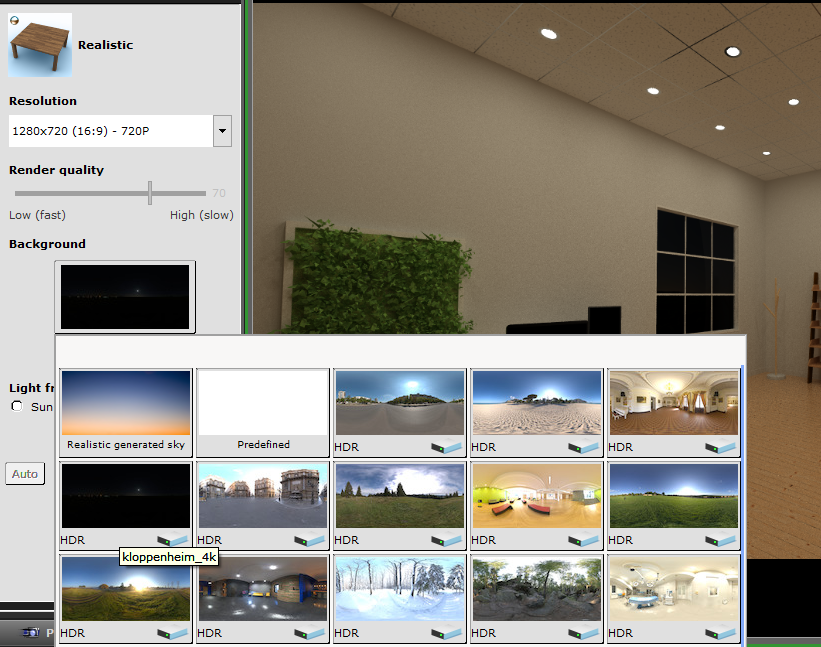 Notice the cloud icon on the bottom right of each background, a cloud icon indicates the background image needs to first be downloaded by clicking on it once. Once it's downloaded, it will then show a hard disk icon.
 - Here's the beautiful night sky with ceiling lights:
Congratulations, you have arrived at the end of this tutorial!
If you want to try dipping into the Advanced settings of Photo Lab, here's the Advanced tutorials for Photo Lab.
| ◄ Previous Tutorial |
Comments
0 comments
Please sign in to leave a comment.