
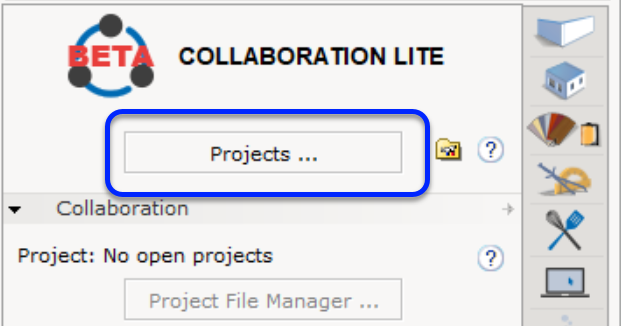
The Projects dialog is used to manage, create, and open existing projects. To get to the Projects dialog, click Projects ... at the top of the Collaboration Lite Extension:
Once the Projects dialog is open, you will see existing projects, and will be able to manage existing and new projects.
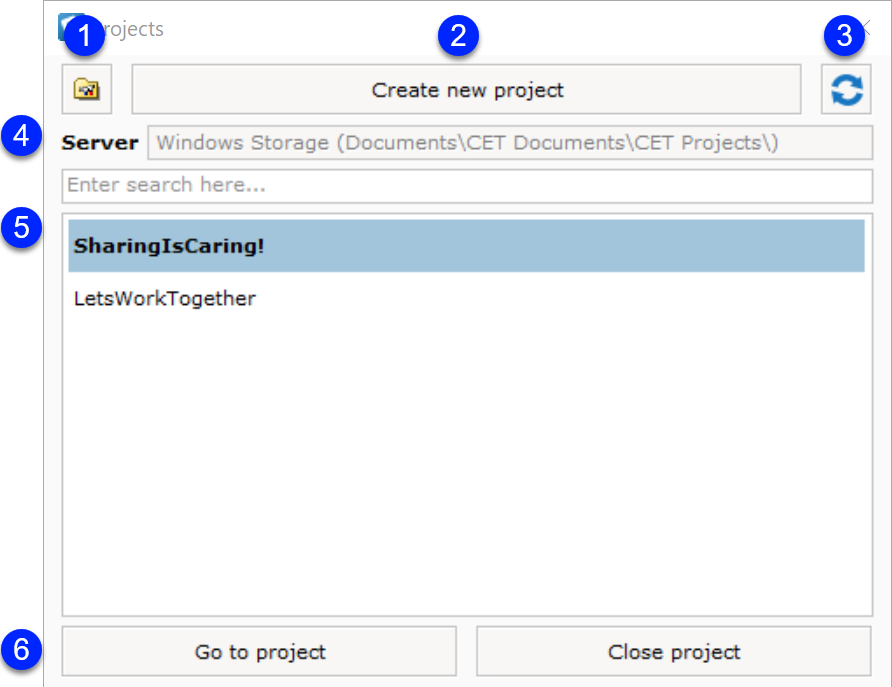
1. Collaboration settings
Click the folder icon at the top of the dialog to open the Collaboration Settings in the Control Panel (also accessible from the File menu). Set up your server and local workspace settings, and other miscellaneous settings.
1. Create new project
Click Create new project to open a dialog where you can name the new project.
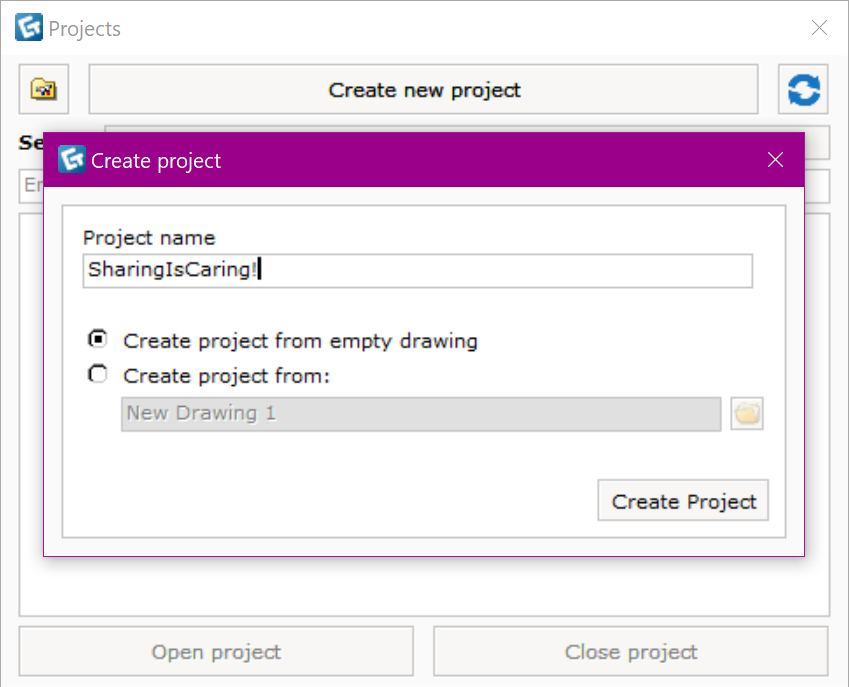
Select one of the following ways to make a new project:
- Create project from empty drawing: The new project will be made from a completely new, empty drawing which will not affect any currently opened or existing drawings.
- Create project from: Copies the selected drawing and converts the copy into a project for collaboration. By default, the currently open drawing will be selected, but click the folder icon to the right of drawing name in order to browse for an alternate drawing to create the project based off of.
When using Create project from, all the contents in the selected drawing will be automatically placed into the Drafts section. Objects in drawing space will be placed in the Section Draft, and pages in Paper View will be placed in the Paper Group Draft.
3. Refresh
Refresh the list to access the most recent changes submitted by other users to projects found in the server location.
4. Server location
The server location is where new projects will be saved. You can change the location by opening the Collaboration Settings (see #1).
5. Projects list
All projects saved in the server location will be listed here. You can type in the search field to filter through the list and find the project you are looking for. Double-click a project's name to open it, or select the name and click Go to project at the bottom of the dialog.
6. Open/close project
Click Go to project to open the selected project. You can also open projects directly from the Windows File Explorer.
Click Close project to close the file. You can also close a project from the File menu, or with the shortcut Ctrl + W.
When closing, you will be informed if you have sections that you have not submitted to the server.
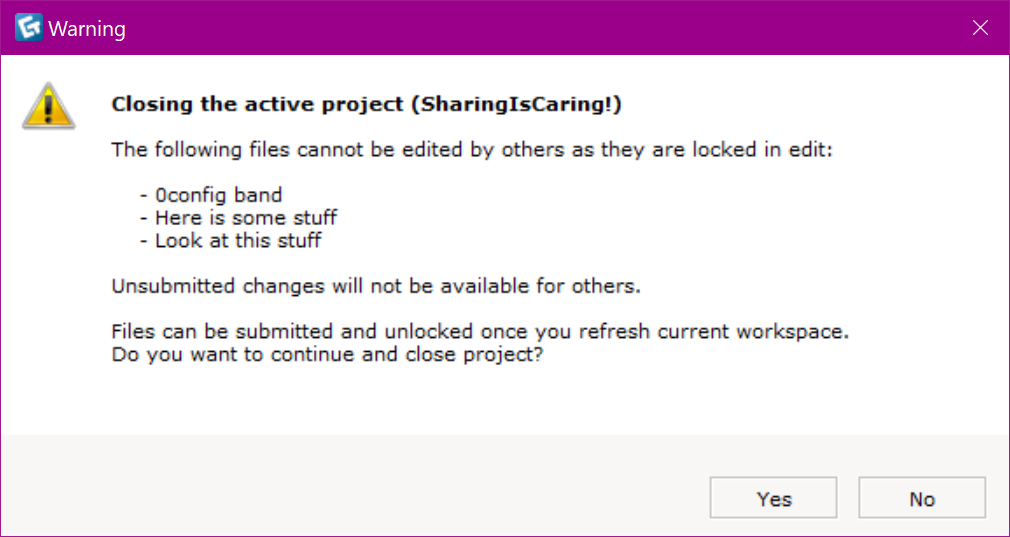
Click Yes to close the drawing without submitting the changes. Other users will not see the most recent edits to unsubmitted sections, nor will they be able to edit them. Click No to return to the project so you can submit the changes before closing. Once files are submitted, other users can see your changes and they can download and edit the sections themselves.
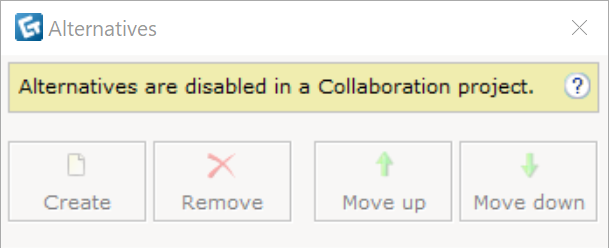
Alternatives
Creating Alternatives is not allowed in Collaboration. Therefore, the Alternatives dialog will be disabled while in a Collaboration project.
Comments
0 comments
Please sign in to leave a comment.