
Use the publish card to upload your catalogue to the server.
Opened Portfolio in tab
Files – Local
Indicates the files used in the selected project file.
-
Select Project: Upload project file (xml, db3) with the Upload Project File button. Current project is automatically loaded when a new portfolio in opened. You can choose to upload another project by selecting project from the drop down.Products that are not assigned with categories in the Products card will be warned from uploading.
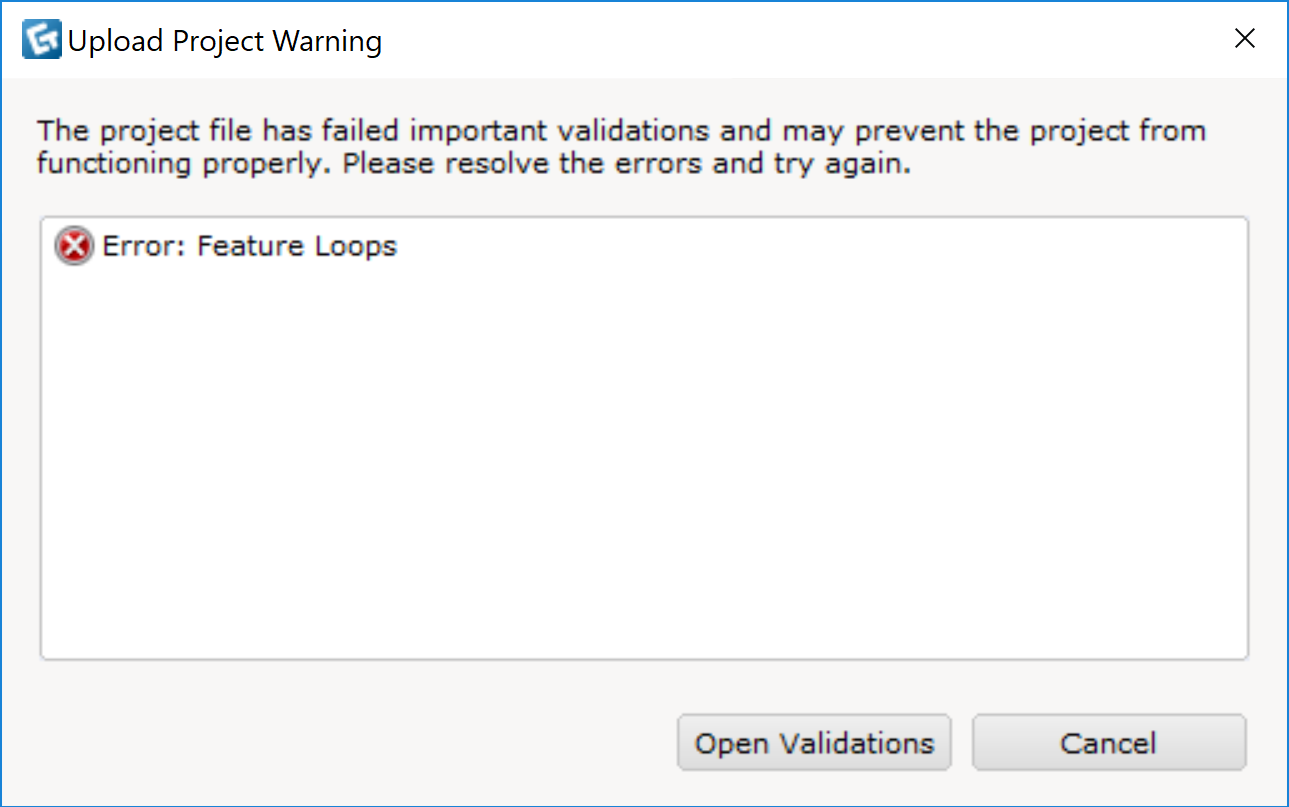
Projects that failed any of these validation tasks will be barred from uploading until they are fixed :
- Feature loop
- No product catalogue name
- No manufacturer name
- No manufacturer code
-
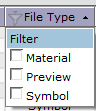
Filters in headers: Right click on header to filter files.
- Ignore case: Checking means case insensitive search, unchecking means case sensitive.
- Contains: Filter items that contains the search keyword.
- Doesn’t Contain: Filter items that does not contain the search keyword.
- Equals: Filter items that exactly match the search keyword.
- Doesn’t Equal: Filter items that do not match the search keyword.
- Begins With: Filter items that starts with search keyword.
- Ends With: Filter items that ends with search keyword.
Unfiltered vs Filtered
-
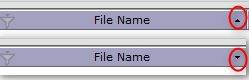
Sorting: left click on arrow in the header to sort ascending and descending.
- Upload checkbox: Manually select resource files to be uploaded with Upload Selected Files button. You could also filter by any of the columns and use Check all button to upload selected files.
- Target: Indicates catalogue id of the portfolio as it shows where the project file/resource files will be uploaded to. You will have two different targets if you have Portfolio Parent setup. You can change the target to the Parent Portfolio by clicking on the arrow down button. Note that if you do not have administrator rights to the Parent Portofolio you will not be allowed to upload to do that.
- File Name: List of resource files that is used in the project file.
-
File Status: Default status is “Unknown” until you click on the Compare server/local timestamps to compare between the files in local drive and the uploaded files in the server.
There are five status :-
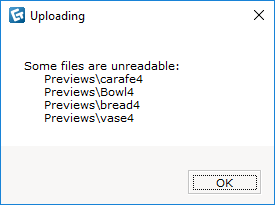
Unreadable: Indicates that the files are used in the project file but was not available in the Resource Directories defined in the Project card. Uploading unreadable files is not allowed and a warning message will be prompt.
- Up to Date: The local files and the uploaded server files are having the same timestamps.
- Out of Date: The local files and the uploaded server files are not having the same timestamps.
- Unknown: Default status before checking is made.
- Not On Server: The file is not uploaded to the server yet.
-
Unreadable: Indicates that the files are used in the project file but was not available in the Resource Directories defined in the Project card. Uploading unreadable files is not allowed and a warning message will be prompt.
-
File Type: Checks and shows the type of the resource files available in selected the project file.
- Modified: Shows the last modified date of the file in the server.
- Refresh/Reset: Refresh and reset the File status to its Unknown State and updates the resource files of project file if there is any changes made to it.
-
Check/Uncheck all: Checks or unchecks all of the Upload checkbox in the local spreadsheet.
Invert Selection: Inverts the current selection of the Upload checkbox. - Compare server/local timestamps: Checks the timestamps of local resource files against the files in the server of current portfolio.
- Put Files to Archive and Upload: Bulk upload all files in a zip format hence download speed will improve drastically • This however requires user to have all files on the server before archiving the files.
-
Upload Selected files: Upload all checked files in the Local spreadsheet.
An upload project warning dialog has been created to warn users on uploading not validated files. Several messages are used to warn users of the file status :
- OK : file did not violate any validation task.
- Proceed with caution : Symbol file exceeded allowable polygon budget in an acceptable range, use Mesh data validation task to verify.
-
Model too large: symbol file exceeded 10 times the allowable polygon budget, will not be allowed to upload until the symbol passed the Mesh Data validation task.
Do refer to these articles find out how to reduce the model size:
- Tutorial 7: Typical Workflow
- Tutorial 8: Batch Converter
- Common Model Problems
However, if you would still want to go through with uploading a large model, contact our support team for help. - Validation Not Run : Symbol file that has not run Mesh Data validation task will fail this.
-
Unreadable Files : Files are not readable based on the Resources directories set in Project card.
Setting up material portfolio as parent portfolio
Creating the material portfolio
Create a new portfolio (“Catalogue Conference” in this example) and set the project type to “Materials only (Required embedded registration)“.
Update Embedded in Extension to your manufacturer license so everyone who has the license will have access to this material portfolio.
Uploading materials to material portfolio
Create another portfolio (in this case “sketchUpModelsTesting“ and set the material portfolio as the parent portfolio.
This will make sketchUpModelsTesting portfolio the child portfolio.
Upload only project file, previews and symbols to the child portfolio.
Upload only materials to the parent portfolio to create a sharing material resources amongst child portfolios.
Users will download contents from both portfolios to their local machine.
Relationship of child-parent portfolios shown in the portfolio page
Downloading from both portfolios
Uploading only materials to material portfolio and other resources to child portfolios
Comments
0 comments
Please sign in to leave a comment.